


Taking care of your feet is just as important as taking care of your hands and face. Fine-looking and clean feet are considered a sign of beauty in women. This type of foot care starts with cleaning your feet to remove dirt and other impurities, and then taking care of your heels.
If you have cracked heels and dirty feet, a pedicure will not do you any good. It is recommended to use petroleum jelly to heal cracked heels and do pedicure at least once a month. There is no need to visit a salon to look your best, as everything you are going to need is available at home.
This article will discuss how to make a beautiful pedicure at home to help you get the job done in no time!

How to Make a Beautiful Pedicure at Home.
It is not very difficult to do a pedicure at home as you’re only going to need a few basic tools. These things are probably already available in every home, such as cotton pads, nail clippers, nail filer and a loofah.
A few additional products like a foot scrub and cuticle cream will help to achieve even better results. But even if you don’t have these products at home, you can still do a pedicure easily.

Here, we will look at a few simple steps to help you get beautiful feet within days.
So, let’s get started.
Step #1 – Clean Your Feet.
Taking a shower helps to clean your feet but only superficially. Deep cleaning is possible only when you soak your feet in an antiseptic solution for at least a period of 10 to 15 minutes.
You can use a toothbrush to clean your nails and a foot scrubber to rub the soles of the feet. It is not recommended to rub very vigorously because it may cause bruises. Once you’re done cleaning, pat dry your feet using a towel. Do not apply a moisturizer at this stage.
Step #2 – Trim and Shape Your Nails.
Just like you normally would, trim your nails using nail clippers and prep your nails by removing any old and chapped nail polish. This step could also be performed before cleaning your feet, especially if you have long and rowdy nails.
This step also involves removing any nail polish that you might have applied previously. To shape your nails, you can use a nail filer. All these tools are easily available at a supermarket, and they are not very expensive either.
Step #3 – Apply Cuticle Cream/Oil.
Once you are done with trimming and shaping your nails, it’s time to apply cuticle cream or oil to handle torn or broken cuticles and moisturize the area. Such a cream will also be helpful in preventing infection and nourishing your toe nails.
It is recommended to use a cream that comes with natural ingredients or oil specifically designed for this purpose. You may use a cuticle pusher to push back the cuticles. Once your rough cuticles are softened, it becomes easier to perform the other steps in the pedicure.

Step #4 – Exfoliate.
Use a good quality foot scrub to remove dead skin cell off your feet. It is not recommended to scrape very hard, but it’s good to keep massaging for 5 to 10 minutes. Foot scrubs that contain tea tree oil, peppermint, coconut oil or Aloe Vera are the best ones out there. It is also possible to prepare your own foot scrub at home.
Useful advice if you do not want to spend a lot of money on pedicures. Mix baby oil with sugar or salt to make a paste. Apply this mixture all over your feet and massage in circular motions. This is one of the easiest foot scrubs anyone can prepare and use at home. Once you’re done exfoliating, it’s time to wash your feet again.
Step #5 – Moisturize.
The next step is to moisturize your feet for that soothing, soft skin you have always desired. Any moisturizer will do the job, but if you’re looking for a homemade foot moisturizer, here is a recipe to try. It is known as cucumber foot treatment, and it has been found to be so good that some women only perform this treatment as an alternative to professional pedicure.
Take two cucumbers, juice of one lemon and a little olive oil and blend them all in a blender. Next, take two freezer bags and put the mixture in them. Place your feet between these two bags and secure around the ankles using a rubber band. Make sure both feet are completely covered. After 5 to 10 minutes, remove the bags and rinse off.
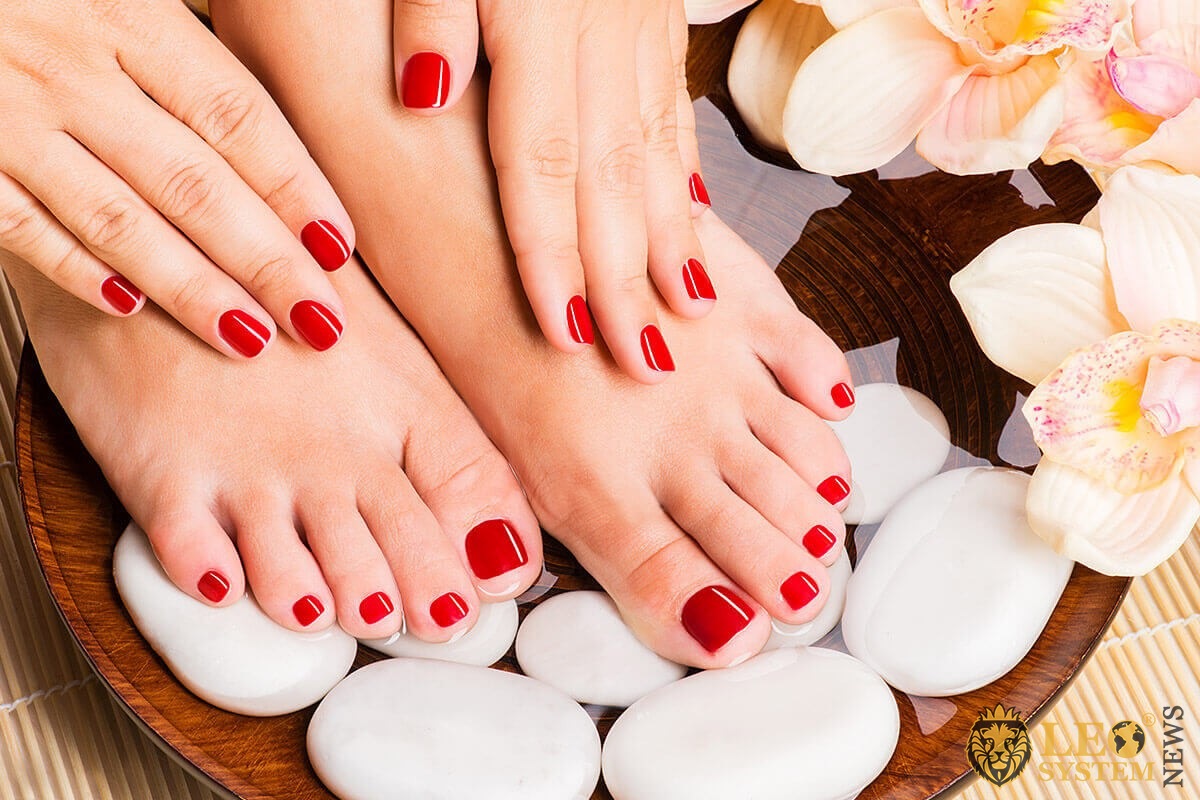
Step #6 – Paint Your Nails.
Once you’re done moisturizing your feet, it’s time to paint and decorate your nails. Check out different pedicure nail arts and apply one that catches your eye. You might need a couple of nail paints and a few other accessories. But if you like to keep it simple, apply a single color like nude, light pink, green, magenta or black, and you’re done.
If you have applied nail art on your fingernails, you may want to use the same base color on your toenails to create some sort of harmony. However, it’s not necessary, and you are free to use your imagination to create wonderful toenails.

Conclusion.
It seems like a lot of effort to prepare a pedicure at home and take care of your feet on a regular basis. But in reality it’s not very difficult to do since you only need to do it once or twice a month. Some women might overlook the importance of washing and cleaning their feet on a regular basis.
However, this step ensures that your pedicure will be successful in making your feet look more beautiful and attractive. Our how to make a beautiful pedicure at home guide consists of six simple steps to help you take care of your feet regularly and save the money you would otherwise have to spend on expensive pedicures at a salon.
Read the post: Body Beauty Recipes